• Skip to content
  • Skip to primary sidebar
  • Skip to footer

KA eats

  • About
  • Dinner
  • Keto
  • Desserts

Mickey Mouse Oreo Cookie Pops

This article may contain affiliate links. Read more here

Sharing is caring!

  • Share
  • Tweet

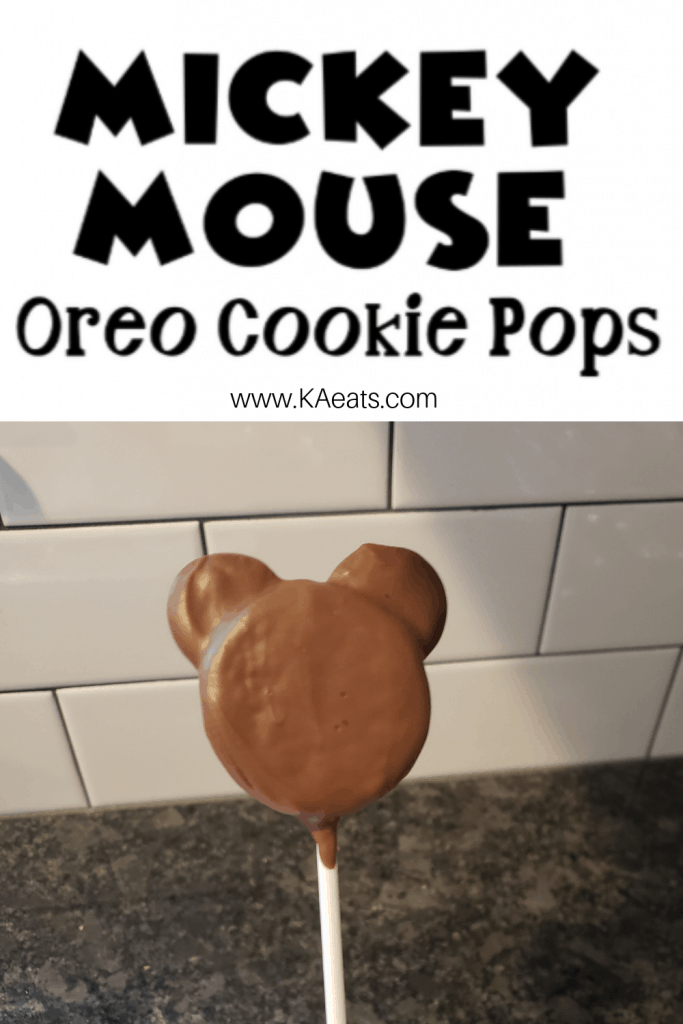
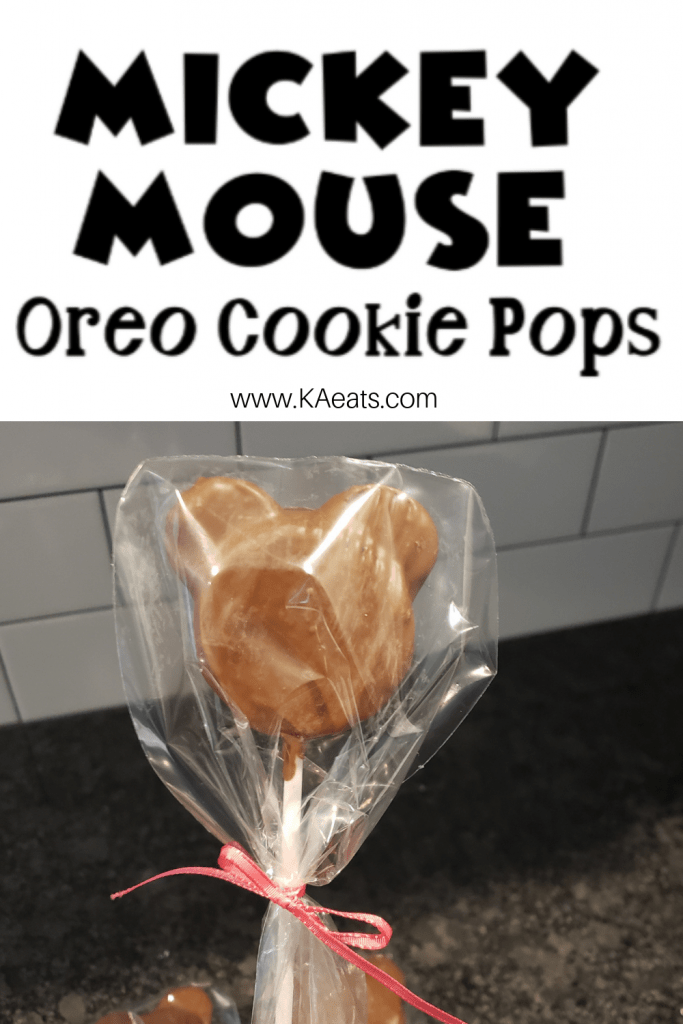
If you love Disney, you are going to love these easy to make Mickey Mouse Oreo Cookie Pops! They are perfect for your Disney themed birthday parties.

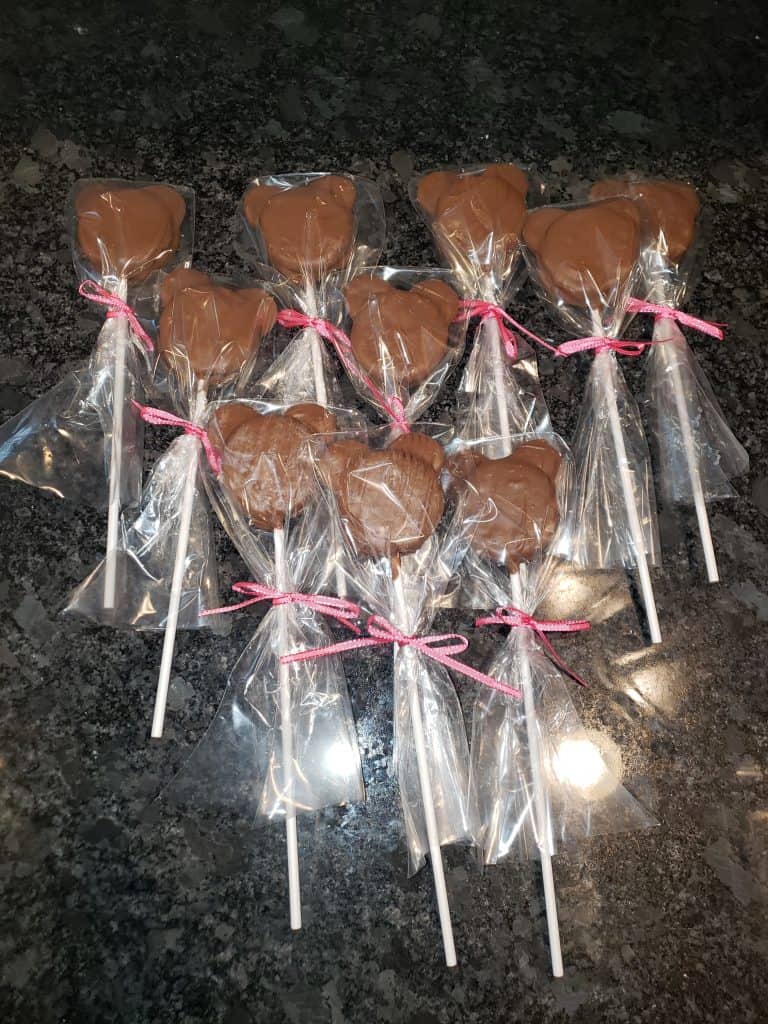
I made these last minute for a Minnie Mouse party so I added a pink ribbon when I packaged them up. So these can be Mickey Mouse Oreo Cookie Pops or Minnie Mouse Oreo Cookie Pops.

Mickey Mouse Pops

This article may contain affiliate links. Read more here

To make Minnie Mouse Oreo Cookie pops, you can do what I did and add pink ribbon. Or you can make pink chocolate bows with these Mini Bows Silicone Moulds and attach them to the pops after you cover the cookies with chocolate.

If you want to get really creative, you can always add sprinkles before the chocolate hardens. They are so easy to make so have fun decorating them.

How To Make Mickey Mouse Oreo Cookie Pops

1 – Open the regular size Oreos and lay them flat on a baking sheet

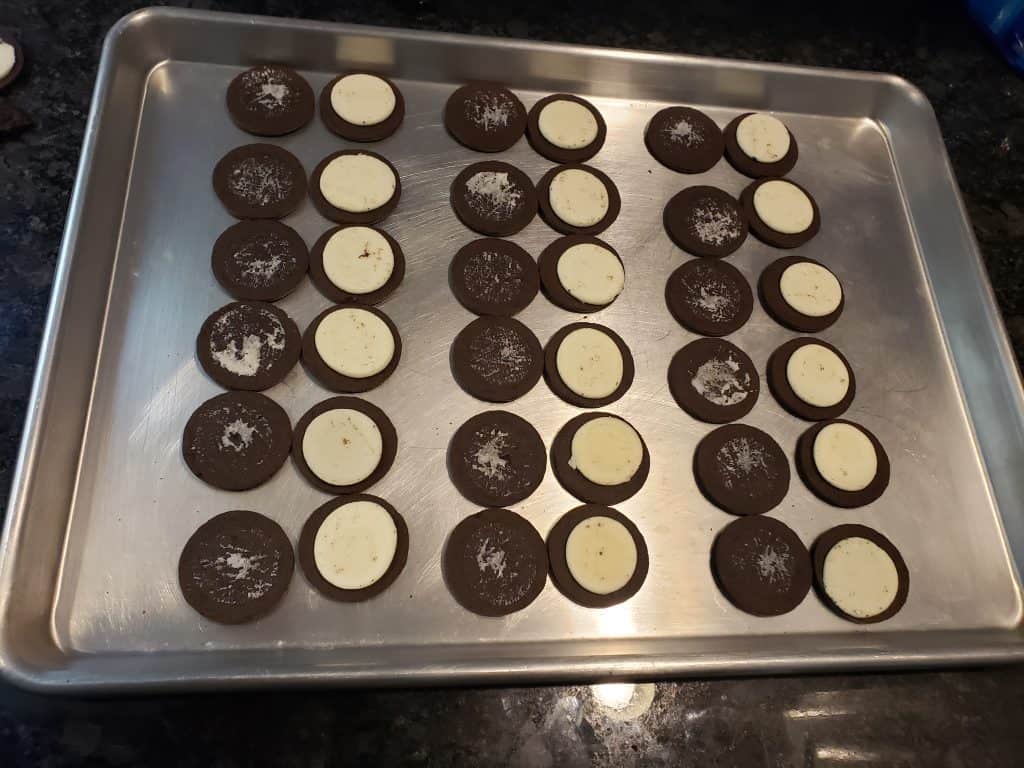
2 – Open the mini Oreos and scrape out the filling. Lay the Oreos on the baking sheet

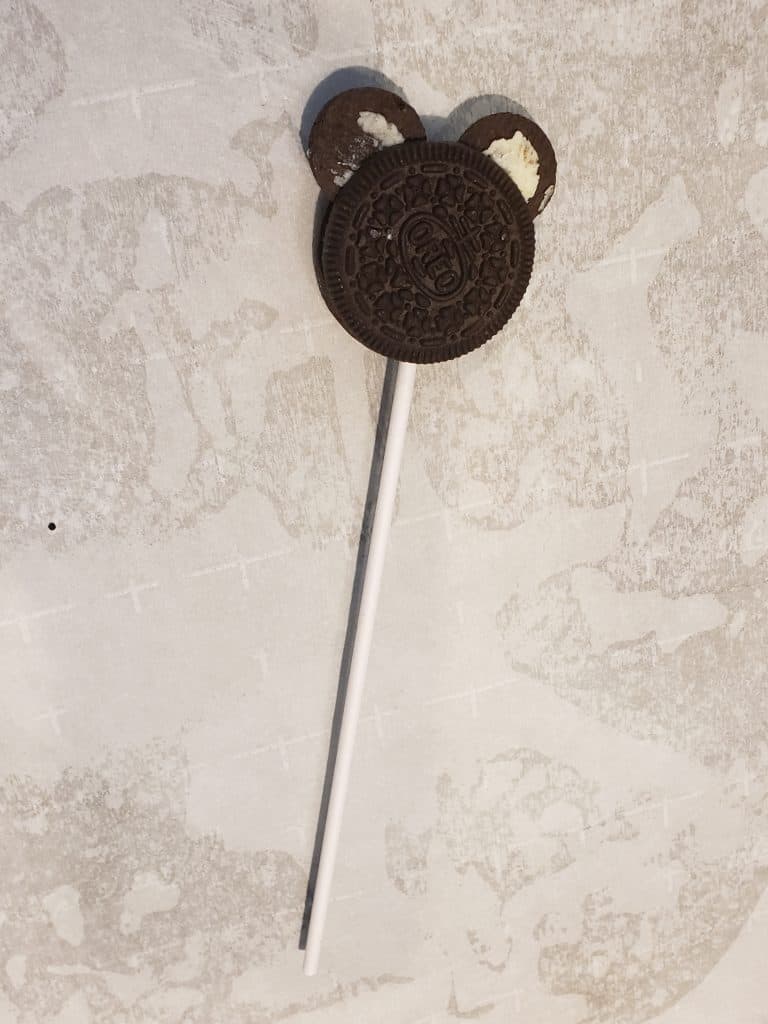
3 – Squeeze the icing on the frosted side cookie in a “T” shape. This way you can attach the lollipop stick and then make the ears with the Mini Oreo cookies.

4 – Attach the other side of the large cookie and lay on the parchment paper to dry (approx. 10 minutes for the icing to set).

5 – Melt the chocolate according to the directions on the package. I like to melt chocolate with a double boiler

6 – Brush the chocolate onto the cookie until it is completely covered with chocolate. Lay the chocolate covered Mickey Mouse Oreo Cookie Pops on the parchment paper.

*If you want to get creative by adding sprinkles or pink chocolate bows then I would add them now before the chocolate hardens.

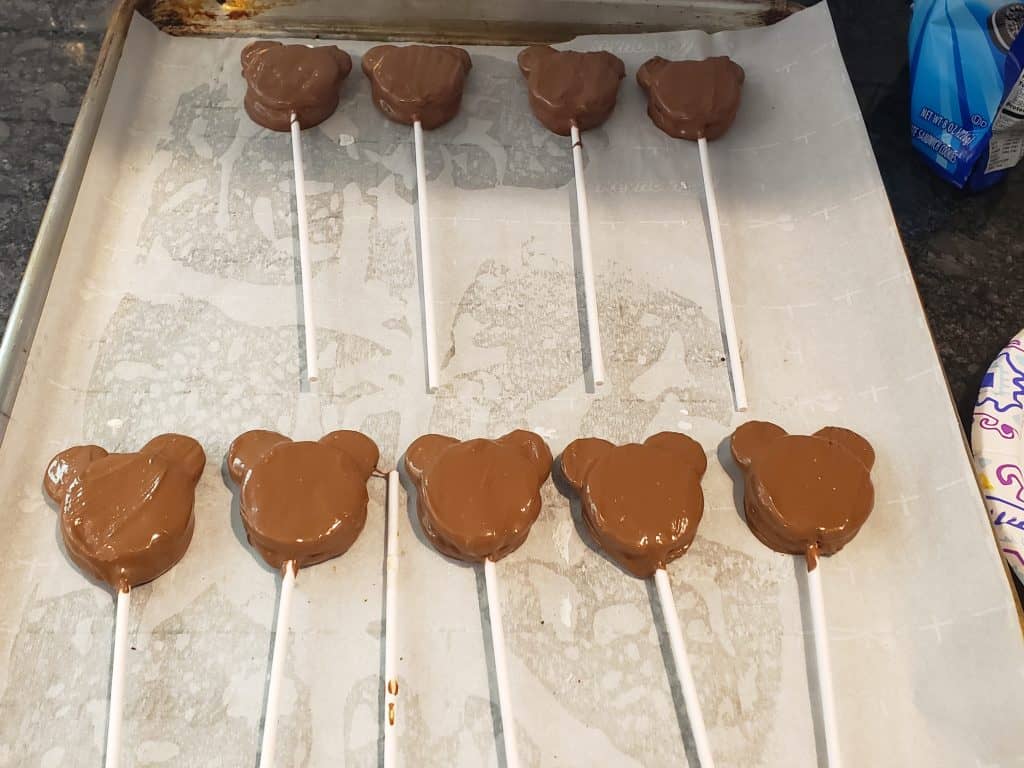
7 – Once all the cookies are covered in chocolate, place the baking sheet in the refrigerator for 1 hour to harden the chocolate.

Once the Mickey Mouse Oreo Cookie Pops are hardened, now its time to package them up. I used clear treat bags and tied it with pink ribbon.

Mickey Oreo Cookie Pops

Mickey Oreo Cookie Pops are an easy dessert to add to your Disney themed parties.
5 from 1 vote
Print Recipe
Total Time 45 mins
Course Dessert

Ingredients
  

  • Oreos
  • Oreo Minis
  • Milk Chocolate Candy Melts
  • Icing
  • Lollipop Sticks
  • Parchment Paper

Instructions
 

  • Open the regular size Oreos and lay them flat on the parchment paper
  • Open the mini Oreos and scrape out the filling. Lay the Oreos on the parchment paper.
  • Squeeze the icing on one side of the larger Oreo cookie in a T pattern. Next attach the lollipop stick and then make the ears with the Mini Oreo cookies. Then attach the other side of the large cookie and lay on the parchment paper to dry. (notes: be gentle not to crack the cookies)
  • Melt the chocolate according to the directions on the package.
  • Brush the chocolate onto the Oreo cookie until it is completely covered with chocolate. Lay the chocolate covered cookie on the parchment paper
  • Once all the cookies are covered in chocolate, place the baking sheet into the refrigerator for 1 hour to harden the chocolate.
Keyword Chocolate, cookies, Dessert, Disney, Oreos, Pops
Mickey Mouse Oreo Cookie Pops
Mickey mouse oreo cookie pops

Mickey mouse oreo cookie pops

Sharing is caring!

  • Share
  • Tweet

Subscribe

for your weekly recipe fix.

Previous Post: « Steak and Egg Oscar
Next Post: Keto Peanut Butter Balls Fat Bombs »

Reader Interactions

Comments

  1. Ashley

    November 12, 2019 at 12:37 pm

    5 stars
    These look amazing. My son is deciding between a Mickey or Dinosaur birthday so we may have to make these.

    Reply
    • KAeats

      November 24, 2019 at 1:49 am

      Regardless what theme you go with, definitely make these! They were such a hit at the party with the kids and adults.

      Reply

Leave a Reply Cancel reply

Your email address will not be published. Required fields are marked *

Recipe Rating


Primary Sidebar

Hello! We are Kelly and Aaron!

He cooks while she devours but together we want to show you how to make delicious, flavorable dishes. Let's dig deeper →

Recent Posts

  • STUFFED PEPPERS
  • Cheesy Stuffed Blooming Onion
  • Chocolate Chip Banana Bread
  • CHOCOLATE PEANUT BUTTER BALLS
  • HOT COCOA BOMBS

Categories

  • Appetizers
  • Baking
  • Breakfast
  • Chocolate
  • Desserts
  • Dinner
  • FALL
  • Keto
  • Ninja Foodi
  • Reviews
  • Seafood
  • Side Dishes
  • Thanksgiving

Favorites Recipes

Keto Crack Chicken

Keto Crack Chicken in the Ninja Foodi

Steak and Egg Oscar

Steak and Egg Oscar

Footer

Let’s Connect

  • Email
  • Facebook
  • Instagram
  • Pinterest

KAeats is a participant in the Amazon Services LLC
Associates Program, an affiliate advertising program
designed to provide a means for sites to earn
advertising fees by advertising and linking to Amazon.com.

  • Privacy Policy
  • Disclosure Policy

Copyright © 2021 KA eats on the Foodie Pro Theme

This website uses cookies to improve your experience. We'll assume you're ok with this, but you can opt-out if you wish. Cookie settingsACCEPT
Privacy & Cookies Policy

Privacy Overview

This website uses cookies to improve your experience while you navigate through the website. Out of these cookies, the cookies that are categorized as necessary are stored on your browser as they are as essential for the working of basic functionalities of the website. We also use third-party cookies that help us analyze and understand how you use this website. These cookies will be stored in your browser only with your consent. You also have the option to opt-out of these cookies. But opting out of some of these cookies may have an effect on your browsing experience.
Necessary
Always Enabled

Necessary cookies are absolutely essential for the website to function properly. This category only includes cookies that ensures basic functionalities and security features of the website. These cookies do not store any personal information.